
New To Real Estate Photography?
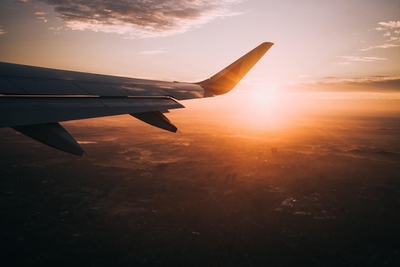
Welcome to the amazing world of real estate photography. It is a specialized area of photography that lets you get creative, see stunning properties, travel and it's in hot demand, meaning you can get plenty of jobs. If you are considering getting into real estate photography, you won't regret it.
Here are some tips for getting started so soon you will be acing your photoshoots, building your portfolio and getting more clients.
The Equipment Checklist
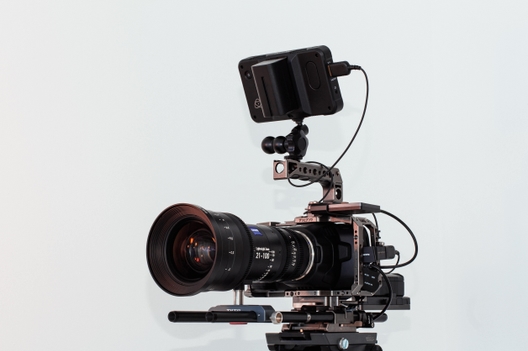
Camera Body
Full-frame cameras have large sensors capable of capturing the light well, helpful in photographing dark interiors. Some recommended camera bodies for real estate photographers are:
● Canon 5D Mark IV
● Canon 6D Mark II
● Canon EOS R
● Nikon D850
● Nikon D750
● Fujifilm X-T20
● Sony a7 III
● Panasonic Lumix G9
Lenses
When shooting interiors and exteriors, you will often use a wide angle lens between 14mm and 17 mm. Add a standard 24-70mm lens to showcase rooms in a complementary way and take beautiful pictures of details. If you have an APS-C camera consider to use a 10-12mm lens and for a camera with a micro 4/3 sensor a 7-9 mm lens.
Tripod
A quality tripod is essential for bracketing. It can also be a lifesaver when shooting dimly-lit spaces. It can also help to get creative shooting the property from a height or in the evening.
Once you have these staples in your kit, you might like to consider adding a drone for aerial shots and a tablet to easily show clients your work as you shoot. Investing in Matterport should be on your radar if you get more serious about real estate photography.
Preparing The Property
Here is some information you can give clients if they ask how to prepare their home or property before the photoshoot.
● Put away any unnecessary items like family photos, children's toys, clothes and shoes
● Tidy up the exterior, including the garden
● Open curtains to let the natural light flow in
● Hide any unsightly appliances and wires
● Remove items like soap in the bathroom or make sure there is a fresh bar
● Take away any distracting items in the room that don’t need to be there
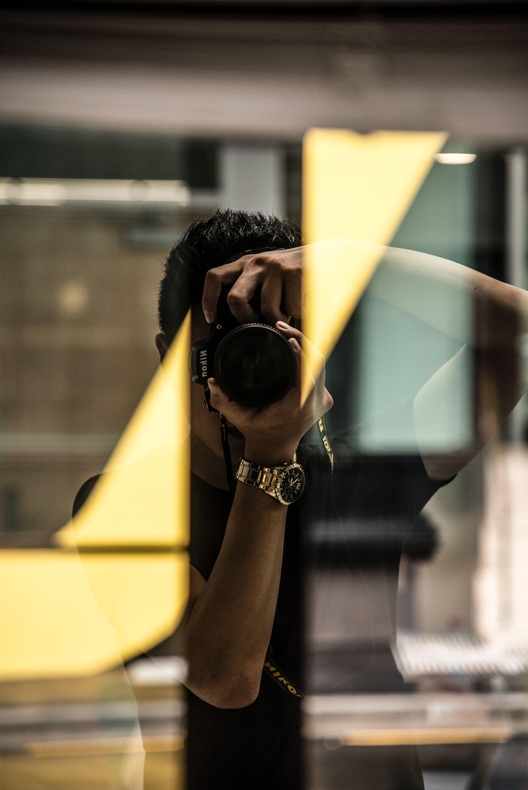
The Shoot
On the day of the shoot, arrive early so you are relaxed and organized. Also, allow time to chat with the client as networking and word-of-mouth in this industry is important. Be generous with your time and it will come back to you. This is good advice for any type of photoshoot, actually.
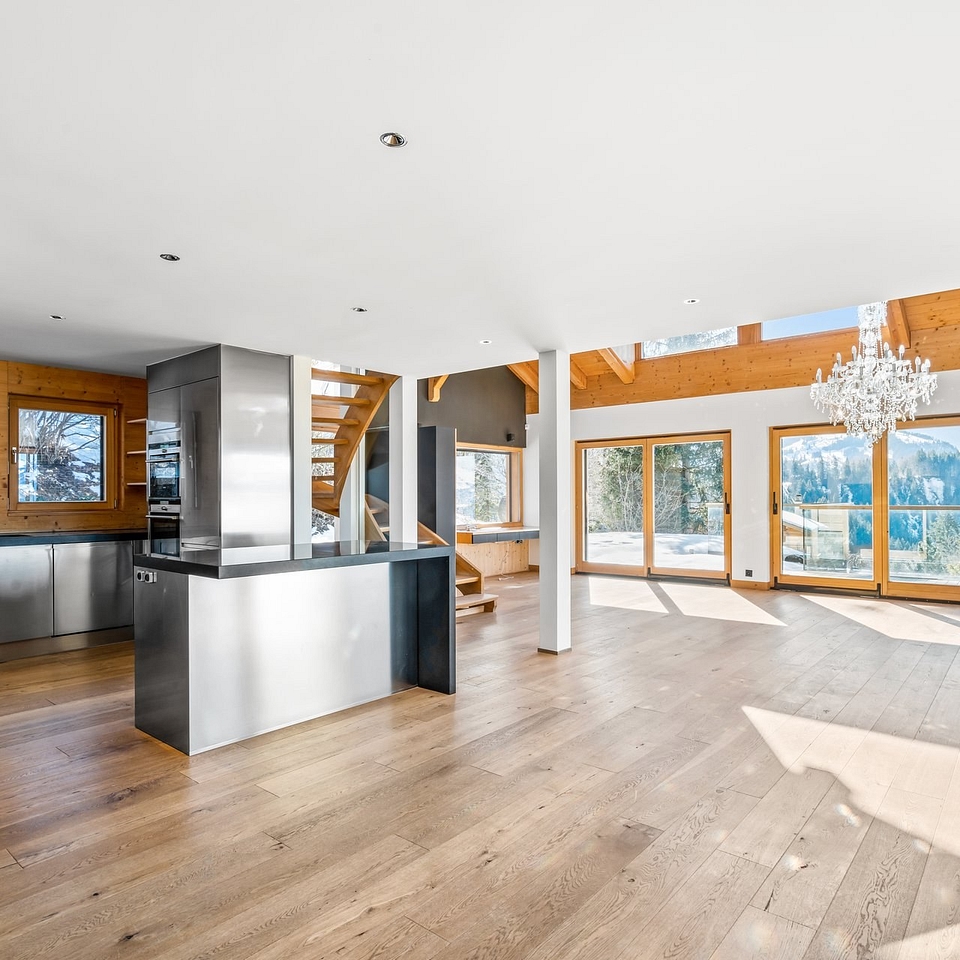
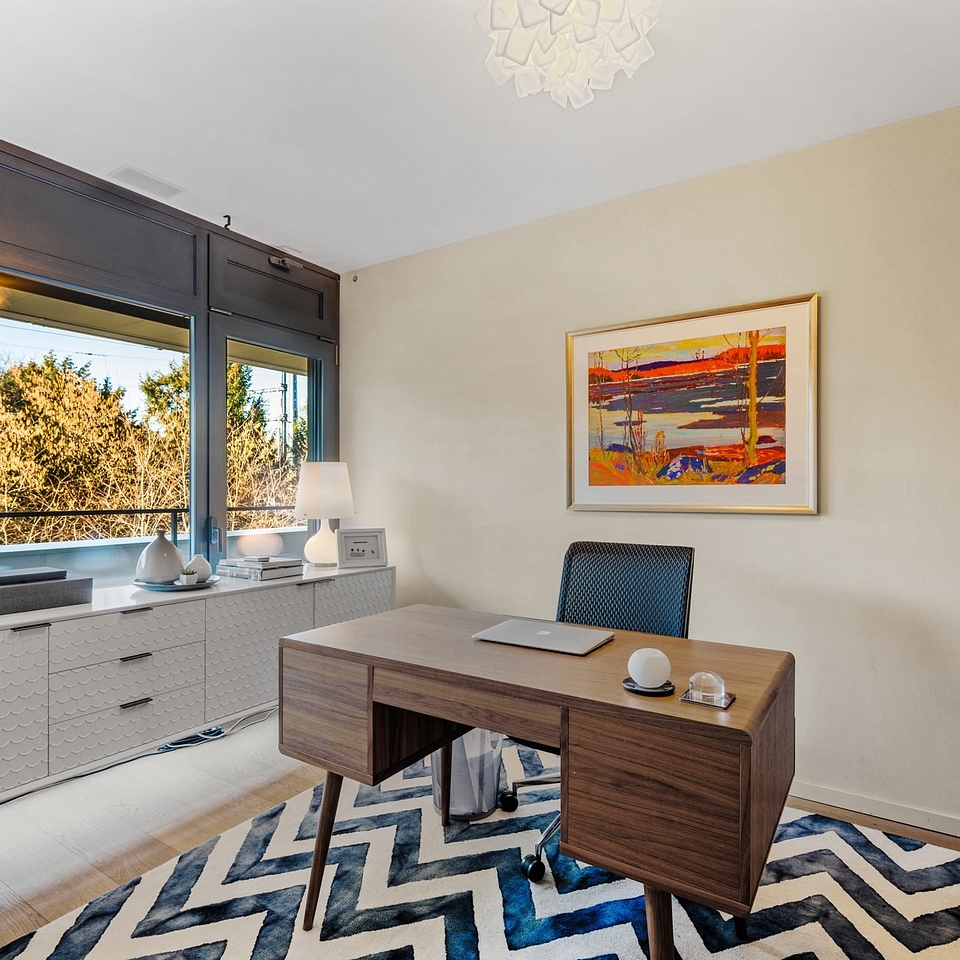
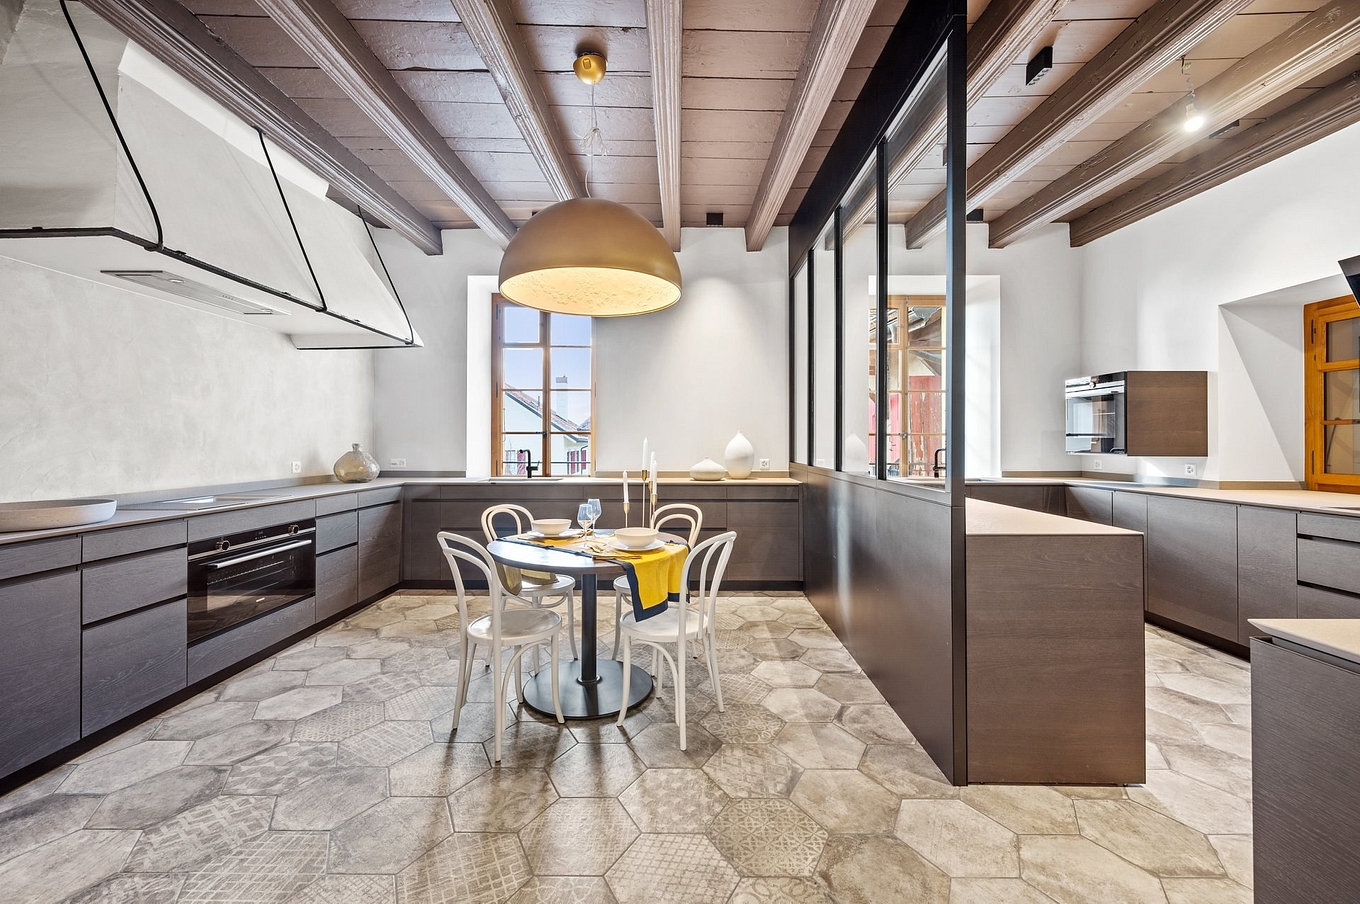
Shoot every room from every angle. Even if there is a small unused room that doesn't look wonderful, take photos. Agents usually list every room, even those little boxes that could be converted into a home office or storage space. You will kick yourself if you miss shooting it and they ask for it later.
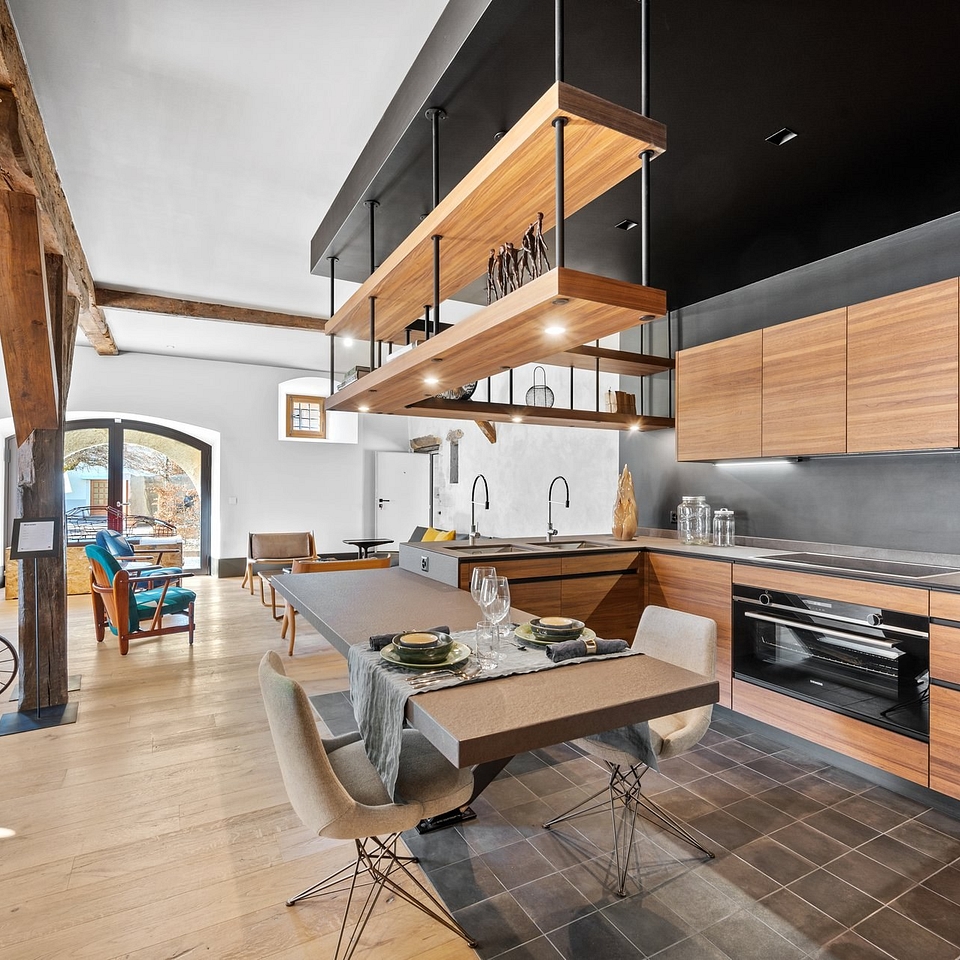
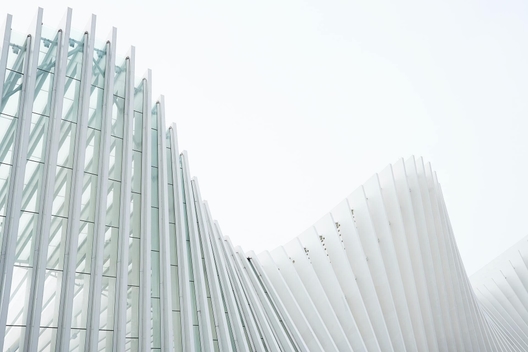
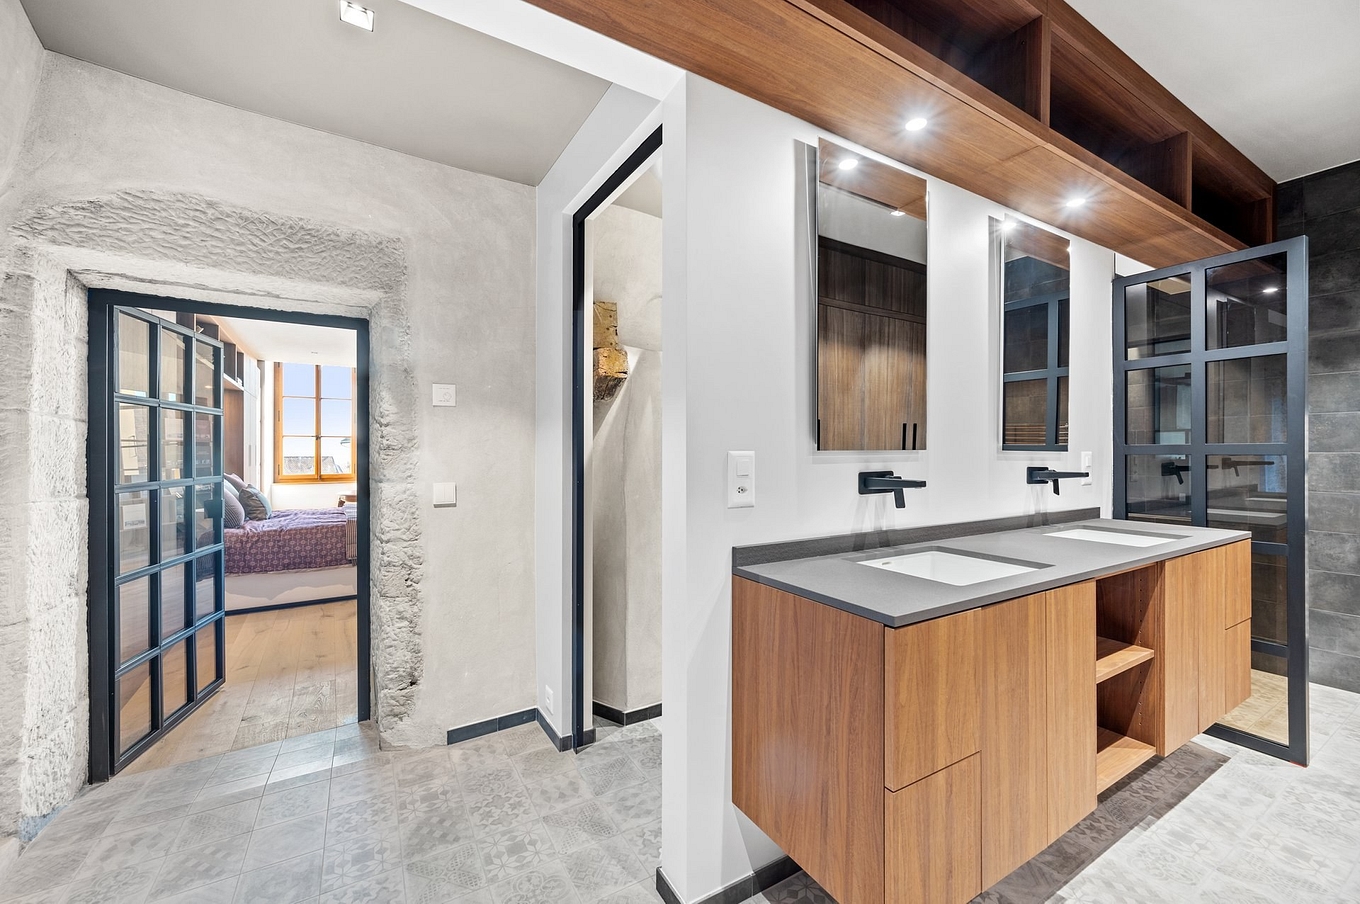
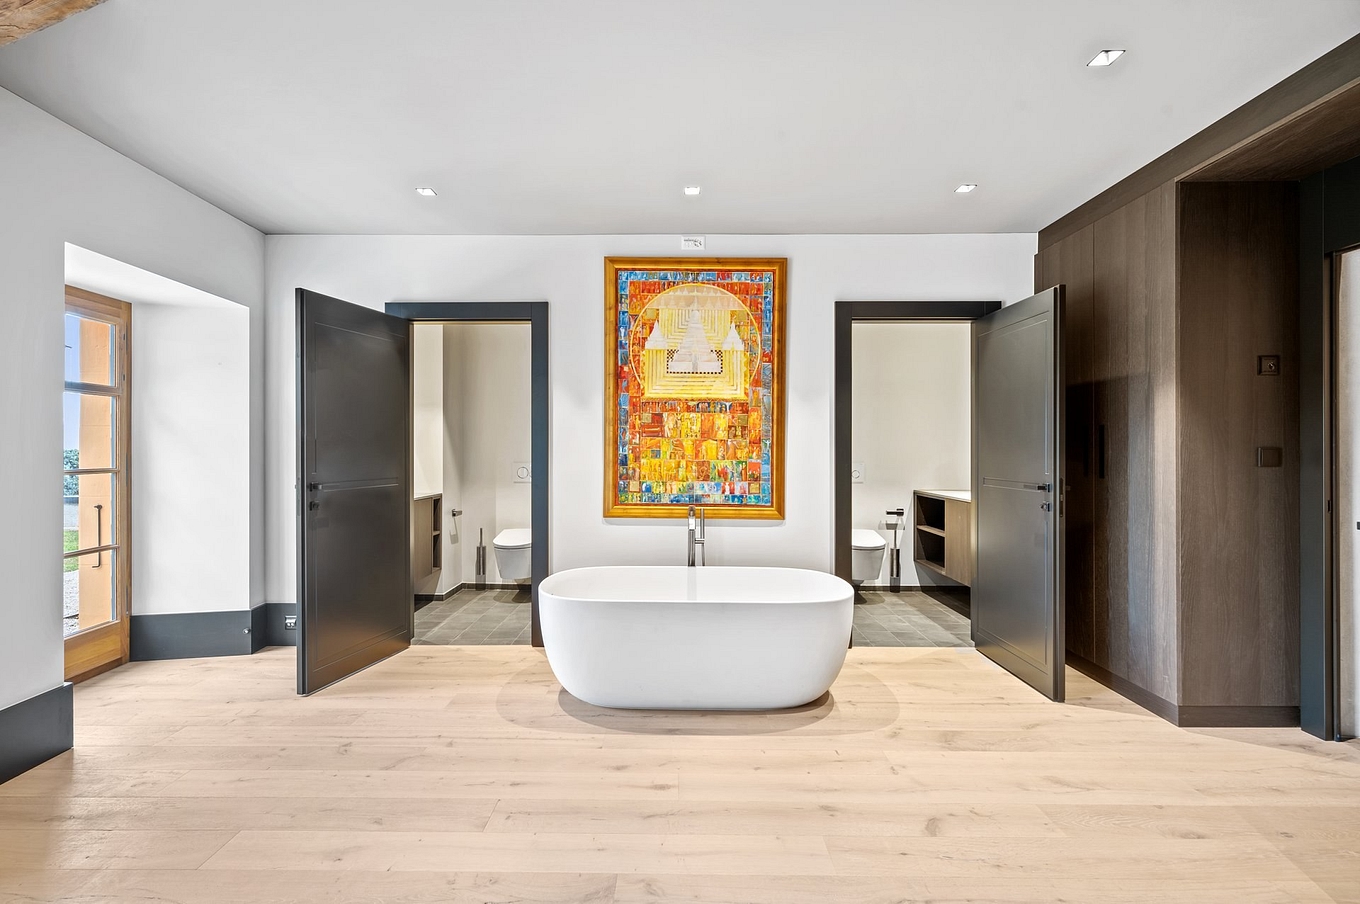
Don't forget to photograph the small details like light fixtures, architectural details, facade, amenities and doors, and exteriors. Buyers always love to see those little extras that make a property more desirable in their eyes.
The Editing Process
Lighting to enhance the appearance of the rooms is probably the main area of editing for real estate photography. You may need to crop and enhance the colors, but overall the editing style should be natural and realistic to what the property looks like in real life. You don't need to use heavy Photoshop or Lightroom editing techniques.
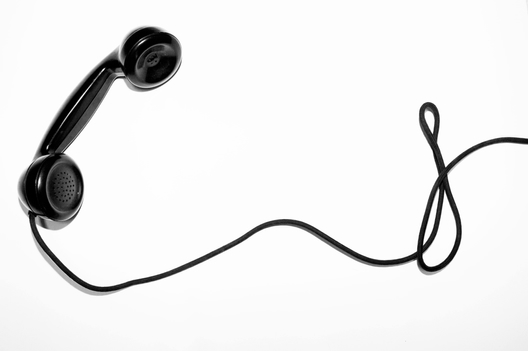
As you can tell, there is a set formula you can follow when it comes to real estate photography. Once you start shooting real estate, you will discover how much time you need to shoot a property according to the dimensions.. The right gear, knowledge of real estate, excellent customer service and your creative eye are all the key ingredients you need for a successful real estate photography portfolio. Ready to join the Backbone team? Contact us today if you are interested in working with us.